

DIY Paramotor Helmet Build

A paramotor helmet is designed to protect the head in the event of an accident. Its easy to assume this means an accident from an extreme height, but most commonly it’s lower level or more specifically ground handling incidents, failed takeoffs, or hard landings. The best helmets are usually made from hard plastic and made to fit over the pilots head to provide bump protection. While helmets are not mandatory for paragliding, it's important and highly encouraged to wear one anytime you are in your harness or connected to your wing to prevent head injuries which can and most often occur during minor and routine operations.
As a helmet is a major piece of safety equipment, it is not something I recommend cutting corners on. That said, Paramotor specific helmets are typically higher priced and the high cost often deters a lot of pilots especially newer pilots who are already investing in a Paramotor, Wing, and Training. The result is a wide range of do-it-yourself helmet builds. If you are handy, this can be a good option to save some money as long as you use a quality helmet to base off of, and do not overly compromise the protection of the helmet.
Bicycle Helmet vs Tactical Bump Helmet
If you are going to build your own Paramotor helmet, there are a couple things you will want to consider. First, you will want to start with a good quality helmet that offers appropriate bump protection.
The most common helmet builds start with a skate boarding or bicycle helmet. I recommend the Giro Cycling Helmet if going this route. The downside of cycling helmet builds is that you will have to cut away the ear locations to make room for the hearing protection, as well as channel the interior foam to run the wiring. This is a more involved build and can be more compromising to the protection rating of the helmet. The advantage is that its one of the least expensive options.
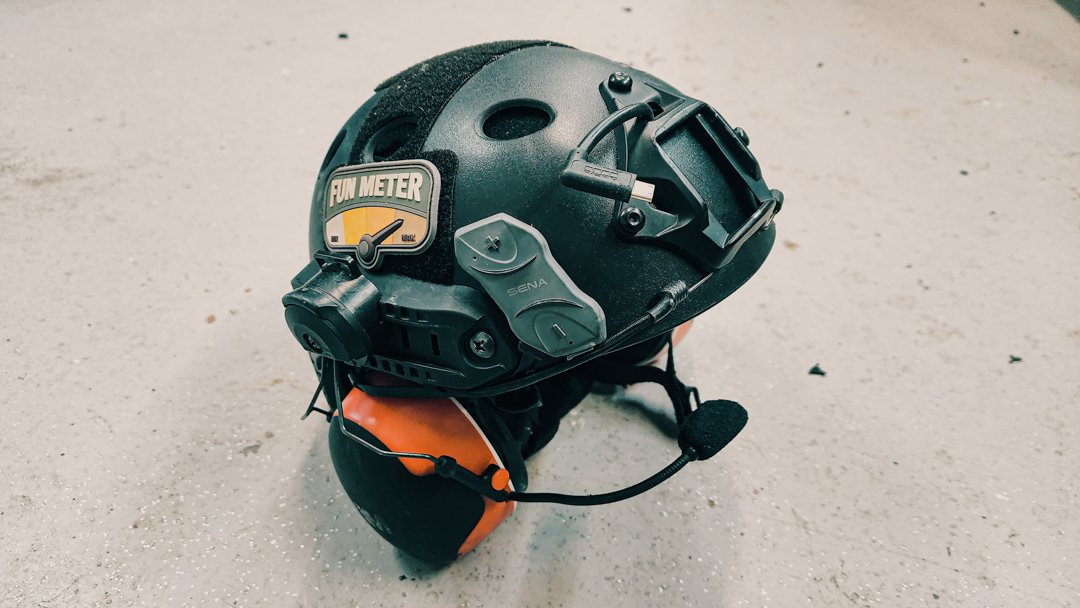
Another great option is to use a tactical style bump helmet. I recommend the Tactical Bump Helmet from Chase Tactical. This helmet comes at a higher base cost than a cycling helmet build such as the Giro, but is a very high quality helmet intended for such purposes. It’s also a much simpler build. Tactical Bump Helmets come with ARC mounts around the ear locations which means there is no cutting, melting, or drilling required to mount hearing protection to the helmet. The interior padding is also held in place by Velcro so running Comm wires under the padding doesn’t require melting or compromising any padding. I also really like the NVG (Night Vision Goggle) mount on the front of these style helmets as it allows you to clip on a GoPro using an NVG adapter. This gives you a quick connect and disconnect action camera that is hard mounted to the helmet as opposed to the more common adhesive mounts which could fail at some point. (Note: You can get NVG mounts for about $10 that you could add to the cycling helmet build to achieve the same thing if desired.)
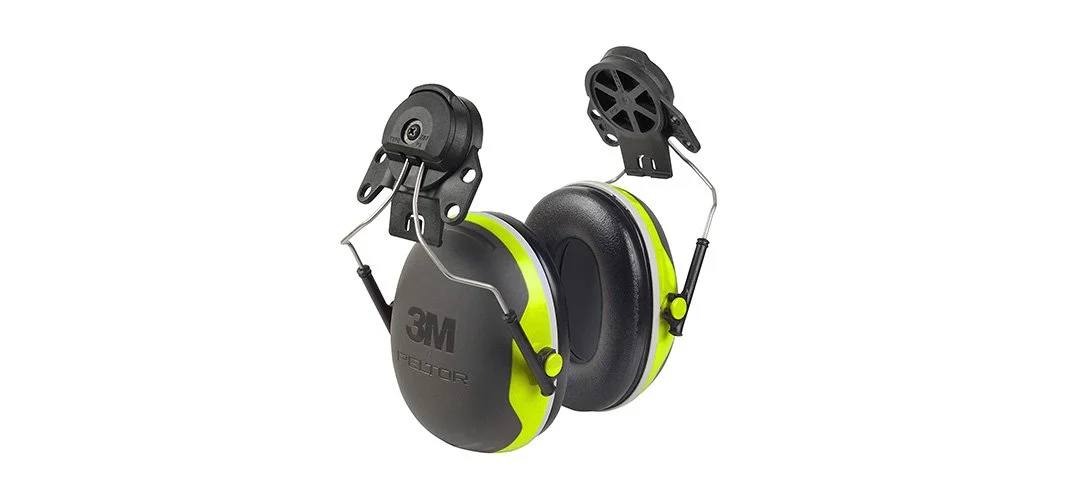
For comms/electronics, both helmet build options will require installation and modification of the ear muffs. This entails placing the speakers in each ear cup, installing the microphone to one of the ear cups, and routing the wires through the helmet. (We’ll cover this in more detail below!)
Bicycle Helmet Build

[A completed DIY Paramotor Helmet build from a Giro Cycling bicycle helmet complete with hearing protection, Sena Bluetooth Communication Electronics, and an Action Camera mount for GoPro’s.]
Gear Needed
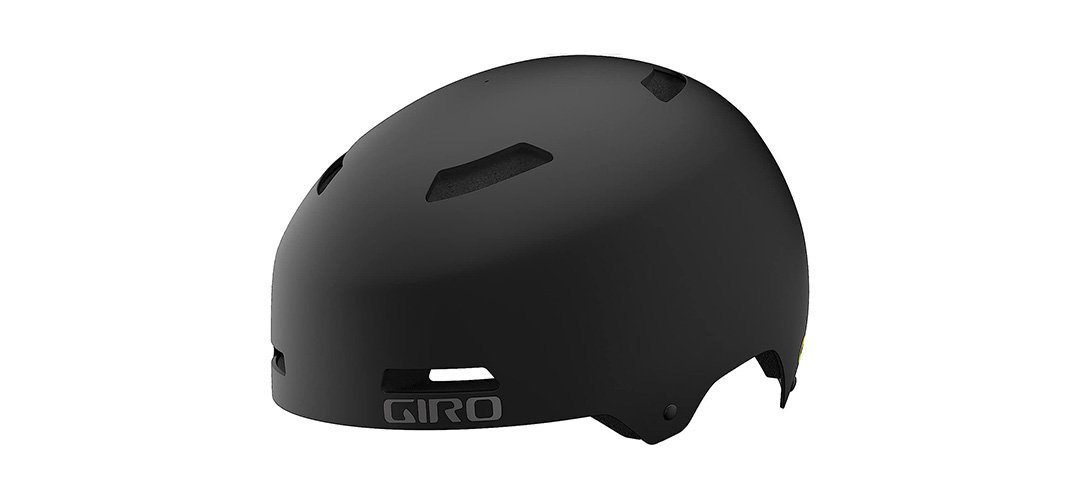
Giro Cycling Helmet

Building the Giro Cycling Paramotor Helmet
Tools - You will need a Dremel Tool with cutting disc, a Marker, a Drill, a Hot Glue Gun, and a Hot Knife for this project.
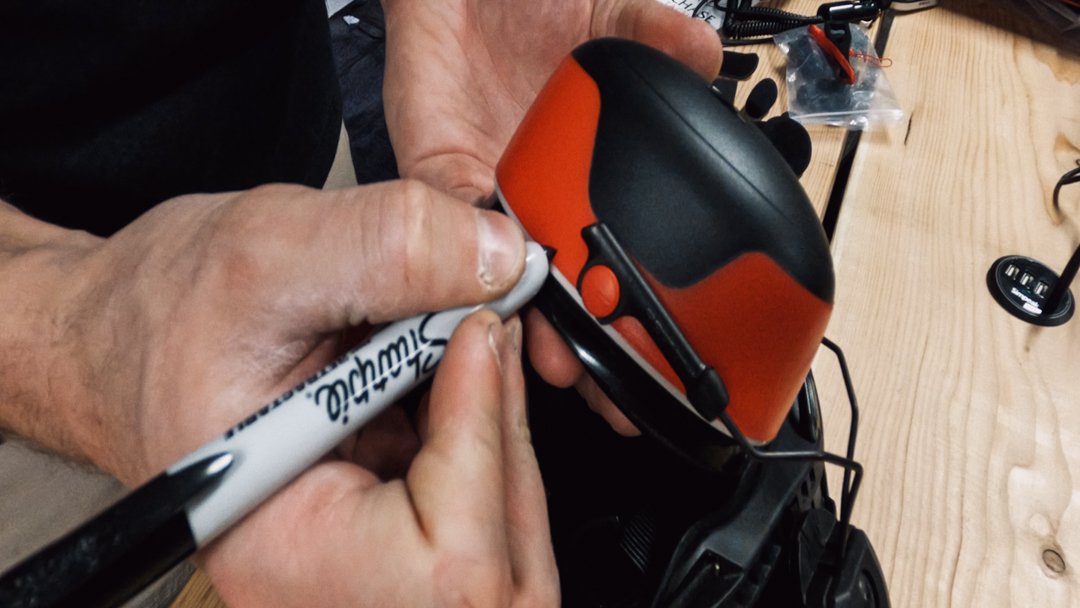
Step 1 - Mark and cut ear protection inlets. The easiest way to do this is to hold the ear muffs up to the helmet and use them as a guide to draw the cutout on the helmet with a marker. It’s best to have a second person for this step so one can wear the helmet and the second can align the hearing protection and mark the cutouts. This ensures the best location for mounting the ear muffs. Once marked, you will want to cut away and inlet the locations with the Dremel Tool and Cutting Disc. After inletting the ears, smooth the edges with a sanding drum.
Step 2 - With the ears properly opened up to fit the hearing protection, test fit the ear muffs to confirm fitment, then mark the mounting location. Next, drill and mount the ear muffs.
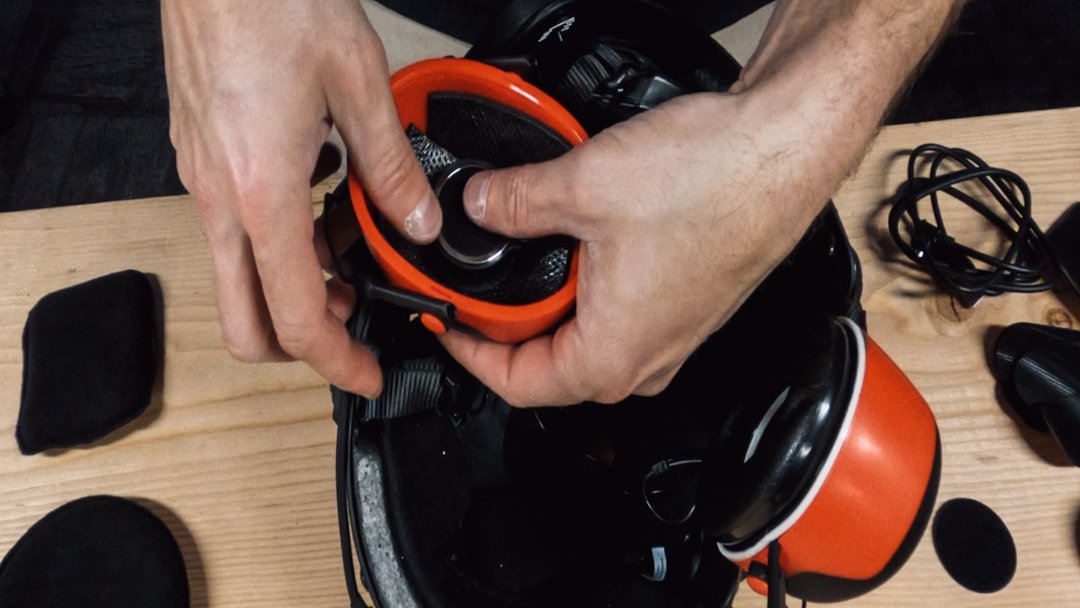
Step 3 - Remove the the padding from the ear cups by pulling hard to pop the frame free from the cup and remove the muffling pad from the cups. The Sena Speakers and Microphone install with Velcro. Clean the inside of the cups with alcohol wipes and place the adhesive Velcro and speakers in the cups. Plan a route for the speaker wires out of the cups on the side closest to the helmet and mark the location with the marker. Place the Microphone on your right ear cup and locate the appropriate cutout location and mark it as well. Using the Dremel Tool with Cutting Disc, grind away openings for the speaker wires and microphone on the hearing protection ear muffs. Confirm fitment with the trim rings. Place the Microphone Velcro and mount the Microphone. With the speakers and Microphone mounted and the wires routed appropriately, place the muffling pads back in the cups, and snap the trim rings on by pressing them in place hard being careful not to compromise the wires.
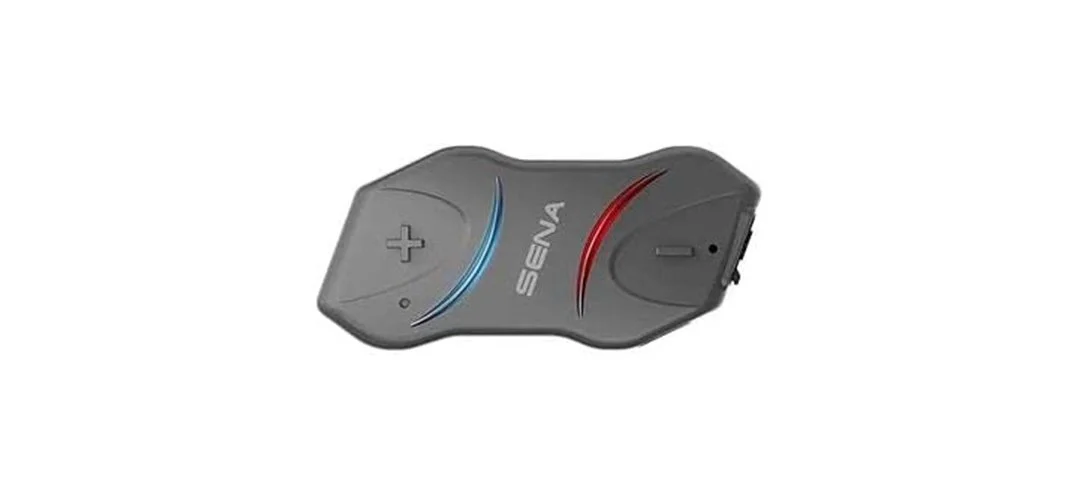
Step 4 - With the speakers and microphone mounted in the ear cups we can now route our wiring. Its best to place the main Sena unit on the back of the helmet. Identify this location and mount the unit with the supplied adhesive. Next, mark the route of the wires on the foam padding with the marker. With the wire routes marked, melt a channel in the foam using the hot knife and tuck the wires into the channeling. Secure the wiring in the channels by going over them with the Hot Glue.
Step 5 - Adhere your GoPro mount to the front of the helmet. If you are using the GoPro Microphone adapter, you will need to factor this in when selecting the location for mounting to ensure you have enough room for the cable to reach the GoPro.
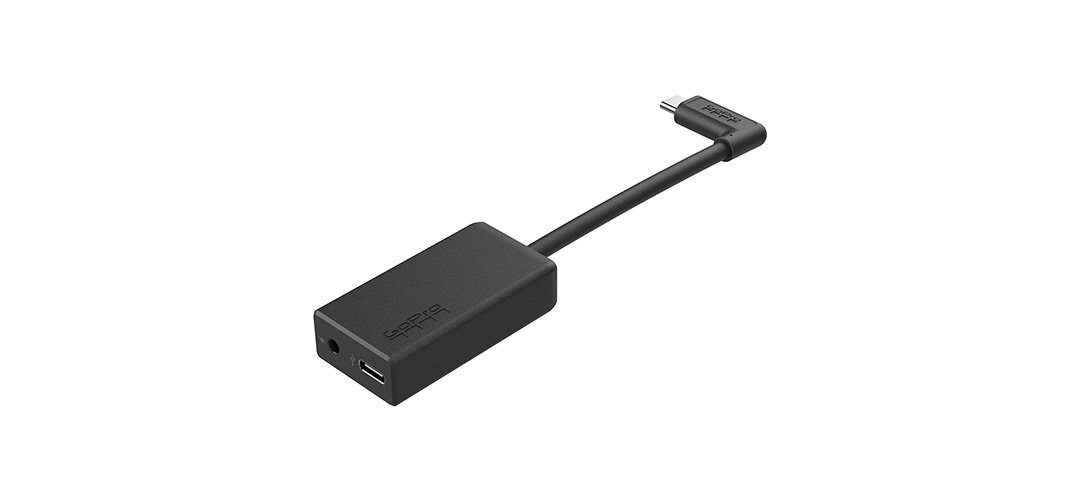
Step 6 (Optional) - The GoPro Microphone Adapter is optional. This unit gives you the ability to capture the audio from the Sena Microphone to the GoPro, but this step is a bit more involved. To do this, you need to find an appropriate place in the helmet to mount the adapter. This will be in the front of the helmet to allow the cable to reach the GoPro. For the Giro helmet, you will need to melt away the foam with the hot knife to clear space to mount the adapter. The adapter converts the USB-C from the GoPro to a 3.5mm audio cable. Plug one end of the 3.5mm cable into the GoPro adapter and route the other end to your microphone. You will need to re-open the right side ear cup and get access to the microphone. Cut off the end of the end of the 3.5mm cable and expose the wires. Cut the microphone cable and expose its wires. Splice the 3.5mm audio cable wires with the microphone wires. Note, your microphone is mono, so the audio will be recorded to one channel (left or right depending on which wires you splice). In post production, you can mirror the audio channel as needed. Test the connection after splicing. Once everything is working correctly, heat shrink the connections and replace the ear cup muffling and trim ring.
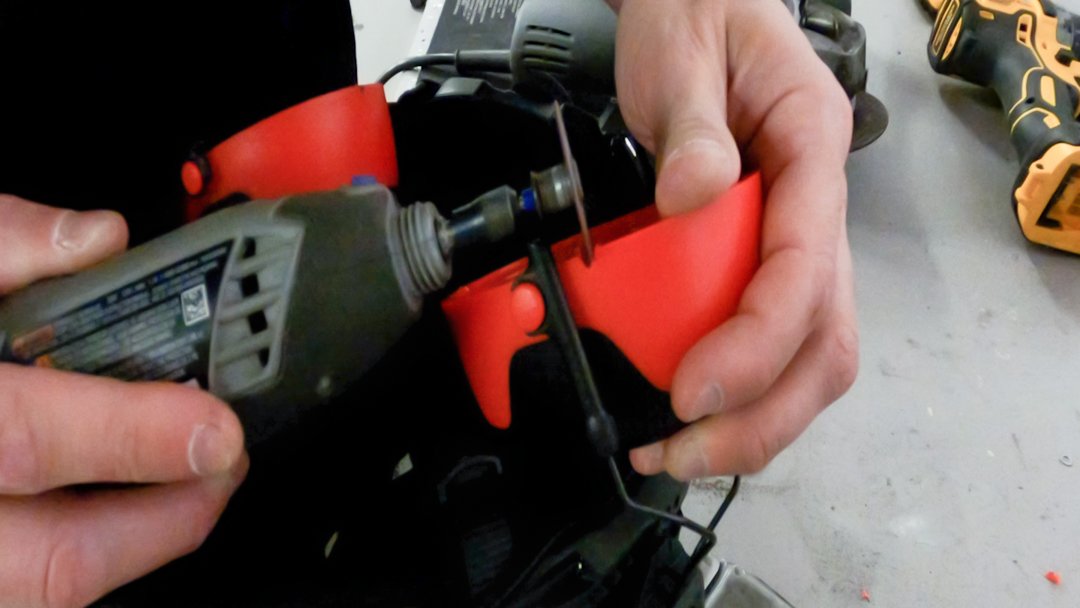
[The ear slots of the Giro Cycling Helmet need to be opened up with a Dremel tool to fit the hearing protection.]

[Comm wires from the Sena Bluetooth system are routed through the foam of the Bicycle Helmet by melting channels in the foam with a hot knife and securing them in place with a hot glue gun.]

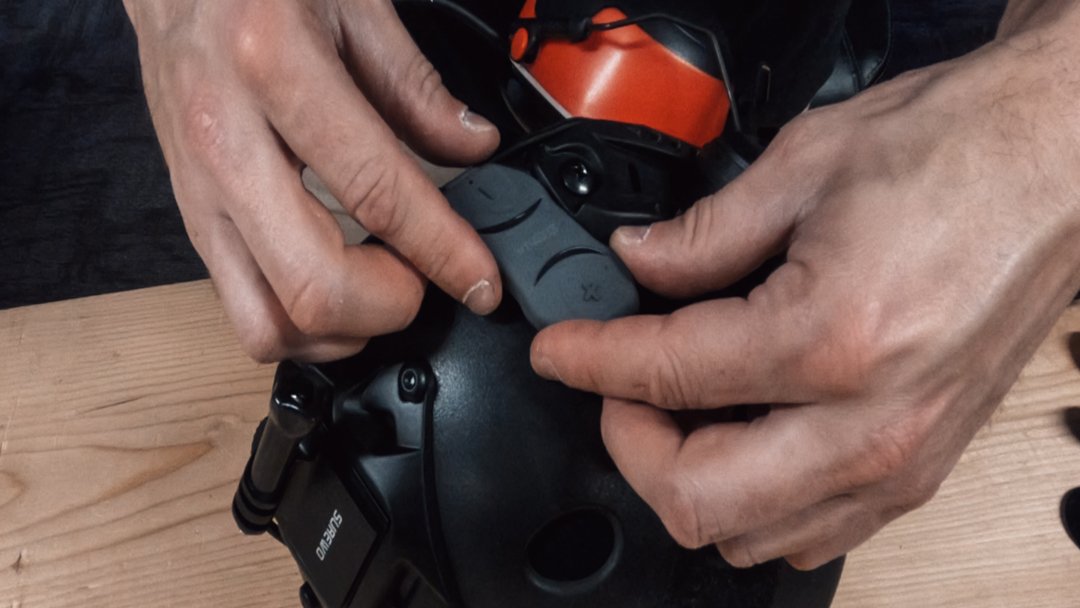
[The Sena Comm components and the GoPro Mount are secured in place to the Paramotor Helmet with industrial 3M Adhesive. Also visible in this picture is the optional GoPro Microphone adapter.]
Tactical Bump Helmet Build
Gear Needed

Chase Tactical Bump Helmet


GoPro NVG Helmet Mount Adapter

Building the Tactical Bump Paramotor Helmet
Tools - You will need a Dremel tool with Cutting Disc for this project
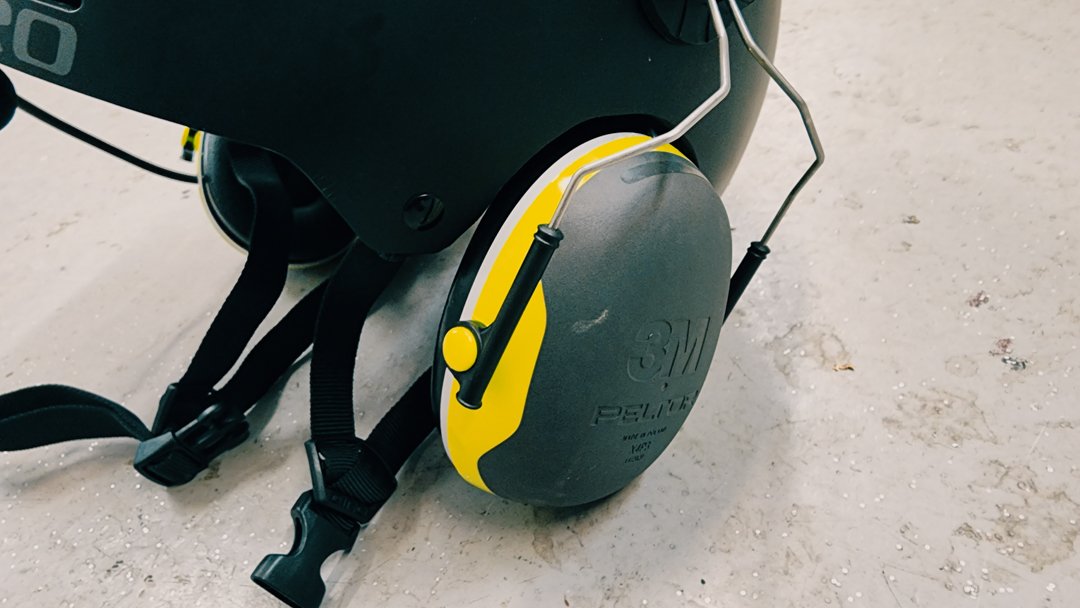
Step 1 - The tactical bump helmet ear locations are already in-letted properly for fitment of hearing protection and come with ARC Mounts that make it easy to install ear muffs. To do this, remove the 3M ear muffs from the head band, and install them on the ARC Mount Adapters. Then slide the ARC Mount Adapters onto the helmets ARC mounts to your desired location. Test the ear muffs to confirm fitment and adjust as needed.
Step 2 - Remove the the padding from the ear cups by pulling hard to pop the frame free from the cup and remove the muffling pad from the cups. The Sena Speakers and Microphone install with Velcro. Clean the inside of the cups with alcohol wipes and place the adhesive Velcro and speakers in the cups. Plan a route for the speaker wires out of the cups on the side closest to the helmet and mark the location with the marker. Place the Microphone on your right ear cup and locate the appropriate cutout location and mark it as well. Using the Dremel Tool with Cutting Disc, grind away openings for the speaker wires and microphone on the hearing protection ear muffs. Confirm fitment with the trim rings. Place the Microphone Velcro and mount the Microphone. With the speakers and Microphone mounted and the wires routed appropriately, place the muffling pads back in the cups, and snap the trim rings on by pressing them in place hard being careful not to compromise the wires.
Step 3 - With the speakers and microphone mounted in the ear cups we can now route our wiring. Its best to place the main Sena unit on the back of the helmet. Identify this location and mount the unit with the supplied adhesive. Next, route of the wires underneath the Velcro padding. The Velcro padding secures the wires in place.
Step 4 - Attach your GoPro NVG Adapter to the NVG mount on the front of the helmet. Your Tactical Paramotor Bump Helmet is done and flyable at this point!
Step 5 (Optional) - The GoPro Microphone Adapter is optional. This unit gives you the ability to capture the audio from the Sena Microphone to the GoPro, but this step is a bit more involved. To do this, you need to find an appropriate place in the helmet to mount the adapter. This will be in the front of the helmet to allow the cable to reach the GoPro. This unit can tuck in nicely between two of the smaller Velcro pads. Having the GoPro mounted during this step helps ensure you find a location that leaves enough room for the cable to reach the camera. The adapter converts the USB-C from the GoPro to a 3.5mm audio cable. Plug one end of the 3.5mm cable into the GoPro adapter and route the other end to your microphone. You will need to re-open the right side ear cup and get access to the microphone. Cut off the end of the end of the 3.5mm cable and expose the wires. Cut the microphone cable and expose its wires. Splice the 3.5mm audio cable wires with the microphone wires. Note, your microphone is mono, so the audio will be recorded to one channel (left or right depending on which wires you splice). In post production, you can mirror the audio channel as needed. Test the connection after splicing. Once everything is working correctly, heat shrink the connections and replace the ear cup muffling and trim ring.


Final Thoughts
Paramotor helmets are a crucial piece of safety equipment but can be a bit expensive. Fortunately, there are some great, well tested, do it yourself build options available if you are handy, enjoy fun projects, and looking to save some cost. I helped a buddy of mine build his Paramotor helmet from the Giro Cycling Helmet, and I built mine from the Chase Tactical Bump Helmet. Both projects were fun, and the helmets have been serving us well for going on 3 seasons now!
